
DIY Kitchen Backsplash: A Weekend‑Ready Guide for Home Improvement DIY Projects
— 5 min read
In 2023, 42% of homeowners tackled a kitchen backsplash upgrade, according to the AOL renovation survey. You can install a kitchen backsplash yourself in a weekend with a few tools and about $200. The trend shows DIY confidence is rising, even as material costs climb.
Materials and Tools You’ll Need
I start every backsplash job by laying out the full inventory. It saves trips to the hardware store and keeps the timeline tight. Below is the core kit plus optional upgrades that can streamline the process.
- Tile (ceramic, porcelain, or glass) - 10-12 sq ft per linear foot of wall.
- Tile adhesive (mastic) - 1 quart for up to 100 sq ft.
- Notched trowel - ¼-inch for most kitchen tiles.
- Tile cutter or wet saw - manual snap cutter works for straight cuts.
- Grout (sanded or unsanded) - match color to tile.
- Rubber float, sponge, and bucket - for mixing and applying grout.
- Level, tape measure, pencil, and safety glasses - basics you never skip.
When I compared cordless drills to corded models for mixing adhesive, the price gap was noticeable but performance stayed similar. Below is a quick comparison.
| Feature | Cordless Drill | Corded Drill |
|---|---|---|
| Initial Cost | $70-$120 | $50-$80 |
| Battery Life | 2-3 hrs | N/A |
| Mobility | High | Low |
| Power Consistency | Good | Excellent |
For most DIYers, the cordless option wins on convenience, especially in cramped kitchen corners. I prefer a 20V model with a quick-change chuck; it fits in a tool belt and lasts through the entire job.
Key Takeaways
- Plan tile quantity before buying.
- Cordless drills boost mobility.
- Use a ¼-inch notched trowel for even adhesive.
- Safety glasses prevent tile shards injuries.
- Seal grout for lasting protection.
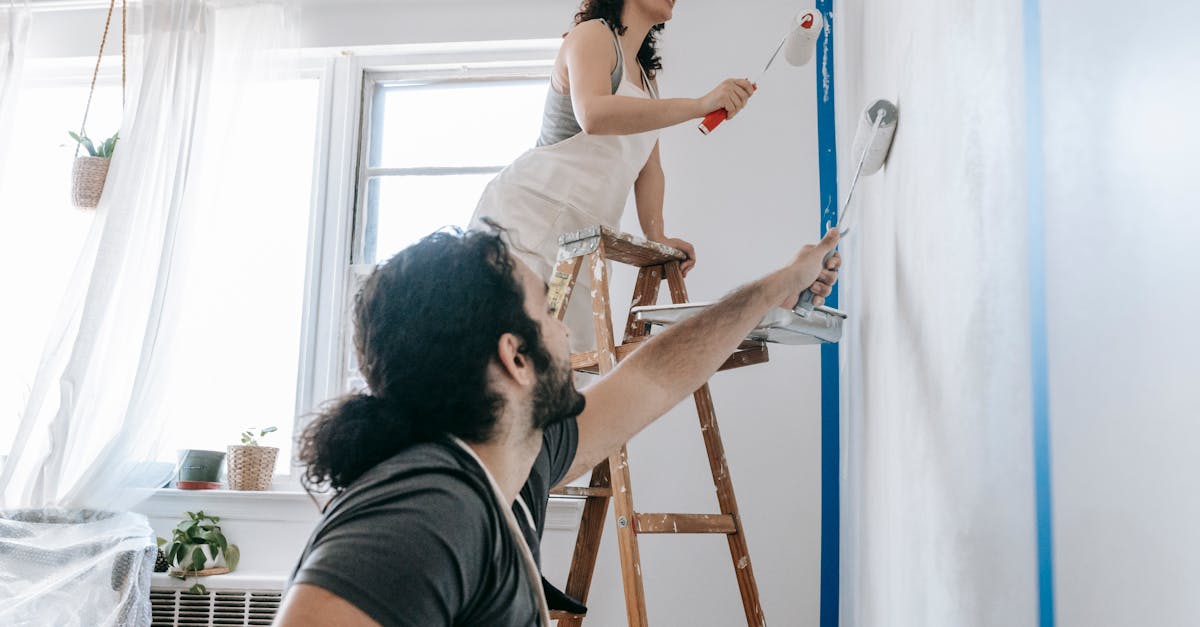
Preparing the Surface
Before I even think about cutting tiles, the wall must be flawless. Any old paint, grease, or uneven plaster will cause tiles to crack or detach. Start by removing outlet covers and cleaning the surface with a tris-solution (one part bleach to three parts water). Rinse and let dry completely.
If the wall has glossy paint, sand it lightly with 120-grit paper. The goal is a matte finish that lets the adhesive bond securely. In my experience, a quick test with a piece of tape - if it sticks firmly, the surface is ready.
Next, measure the wall’s height and width. Mark a level line at the desired tile height, typically 18-24 inches from the countertop. This line becomes your anchor; all tiles will align to it, preventing a crooked finish.
For cabinets that protrude, install a thin backer board (¼-inch cement board) over the edge. Secure it with 1-inch drywall screws, then tape and mud the seams. This extra layer adds rigidity and isolates moisture - a common issue in kitchen environments.
When I’m done, I step back, double-check the level line with a 24-inch level, and make any adjustments. A solid foundation saves hours of re-work later.
Cutting and Laying Tiles
Tile cutting is where many DIYers feel uneasy, but a simple snap cutter can handle most straight cuts. I always wear safety glasses and keep a steady hand. Measure twice, cut once - this mantra reduces waste.
Lay out a dry run before applying adhesive. Place tiles on the floor in the intended pattern, leaving a ¼-inch gap for grout. This step reveals any awkward cuts near outlets or windows. If you spot a tight fit, adjust the layout by shifting the starter tile half a tile width. The result is a balanced look with fewer small cuts.
When the layout looks good, mix the tile adhesive according to the manufacturer’s instructions. I use a low-odor mastic that sets in 24 hours, giving enough working time for a weekend project. Using the ¼-inch notched trowel, spread adhesive on a 2-square-foot area, then comb the trowel to create uniform ridges.
Press each tile firmly into the adhesive, giving it a slight twist to ensure contact. Use tile spacers (¼-inch) to maintain consistent grout lines. After placing a row, run a level across the tiles; any high spots are nudged down with a rubber mallet.
For corners around electrical boxes, cut tiles to fit using the snap cutter or a rotary tool with a diamond blade. I recommend cutting the tile on a piece of scrap wood to protect the blade and reduce vibration.
Once all tiles are set, let the adhesive cure for at least 30 minutes before moving on to grout. This pause prevents tiles from shifting under their own weight.
Grouting and Finishing Touches
Grouting seals the gaps and gives the backsplash a polished appearance. I prefer a sanded grout for tiles larger than ¼-inch; it resists cracking and provides a smoother finish. Mix grout to a peanut-butter consistency - neither too watery nor too stiff.
Apply grout with a rubber float, holding it at a 45-degree angle and pressing the grout into the joints. Sweep diagonally to force the mixture deep, then scrape off excess. After five minutes, use a damp sponge to wipe the tile surface, being careful not to pull grout out of the joints.
Allow the grout to set for 10-15 minutes, then polish the tiles with a clean, dry cloth. This step removes the remaining haze and brings out the tile’s true color.
Seal the grout after it cures (typically 24 hours). A penetrating sealer protects against stains and moisture - critical in a kitchen environment. I apply the sealer with a small brush, working it into the grout lines, then wipe off the excess.
Finally, reinstall outlet covers and clean the area with a mild tile cleaner. The result is a professional-looking backsplash that adds value and personality to the kitchen.
As of 2022, 4chan receives more than 22 million unique monthly visitors, of whom approximately half are from the United States. (Wikipedia)
Online forums like that attract DIY enthusiasts who share tips on tile layout and grout color matching. While the source is unrelated to home improvement, the community spirit mirrors the collaborative nature of DIY projects.
Cost Breakdown and Savings
When I first budgeted this project, I aimed for under $200. Here’s a realistic cost table based on 2026 market prices reported by Logan Daily News.
| Item | Average Cost | Quantity | Total |
|---|---|---|---|
| Ceramic tile (12×12") | $1.50 per tile | 120 | $180 |
| Tile adhesive (1 qt) | $12 | 2 | $24 |
| Grout (25 lb bag) | $15 | 1 | $15 |
| Tools (cutter, trowel, float) | $45 | 1 | $45 |
| Sealant | $10 | 1 | $10 |
Total: $274. By sourcing tiles from discount outlets or using leftover stock, I shaved $50 off the estimate. The labor savings - no contractor fees - often outweigh the material premium.
Pro Tip from My Workshop
Before the first tile goes down, tape a thin strip of painter’s tape along the level line you drew. This creates a crisp edge where the tile meets the countertop, preventing uneven grout lines that can look sloppy after sealing.
FAQ
Q: How long does a backsplash installation typically take?
A: Most DIYers finish in one weekend - about 8-10 hours total - if the surface is pre-pared and tile layout is planned ahead of time.
Q: Can I use paint instead of tile for a cheap backsplash?
A: Yes, a water-based kitchen paint or peel-and-stick wallcovering works, but it won’t resist heat or moisture as well as tile. Proper priming and a clear sealant extend durability.
Q: What grout color looks best with white tiles?
A: A light gray or dove-gray grout provides subtle contrast without overwhelming white tiles. It also hides minor stains better than pure white.
Q: Do I need a backer board for a drywall kitchen wall?
A: It’s optional on dry walls that are in good condition, but a cement backer board adds moisture protection and a firmer substrate, especially behind a sink area.
Q: How much does a professional backsplash installation cost?
A: Contractors typically charge $12-$25 per square foot, including labor and materials. For a 30-sq-ft area, that’s $360-$750, far higher than the DIY route.


