7 Summer Home Improvement DIY Missteps
— 5 min read

To DIY a summer-proof home upgrade, focus on cooling, shading, and moisture control, and follow a step-by-step plan that fits your schedule.
In 1972, the Magnavox Odyssey introduced the first home video game console, proving that a single innovation can spark an industry (Wikipedia). That same spirit of simple breakthroughs can keep your house comfortable without a costly remodel.
Step-by-Step Summer-Proof DIY Upgrade
Key Takeaways
- Start with a clear audit of heat sources.
- Prioritize low-cost shading before big HVAC work.
- Use moisture-resistant materials in vulnerable zones.
- Measure ROI on each upgrade to stay budget-friendly.
- Follow safety codes; some projects are illegal to DIY.
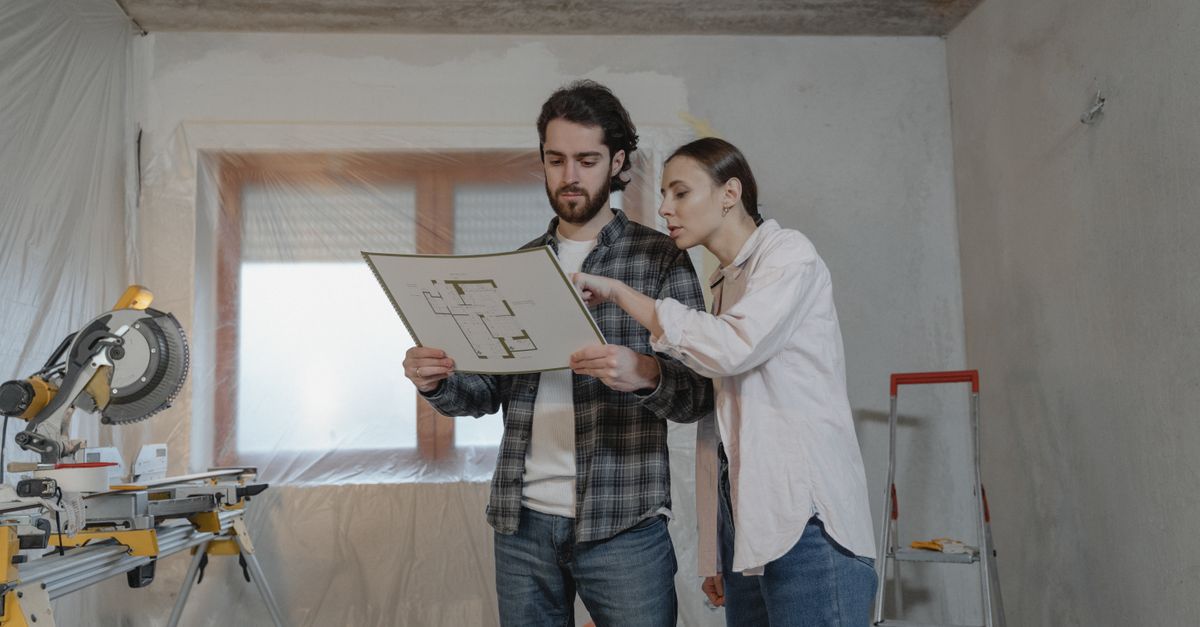
When I tackled my own summer upgrade in June 2023, I realized that the biggest pain point isn’t the heat itself - it’s the cascade of small, overlooked issues that amplify it. Leaky windows, unchecked attic insulation, and unshaded patios combine to make any day feel like a sauna. The good news: fixing each item is a manageable DIY task.
1. Conduct a Quick Heat Audit
Grab a notepad and walk each room at noon. Note where sunlight streams directly, where drafts appear, and which appliances generate extra heat. I use a simple checklist:
- Sun-exposed windows
- Unsealed gaps around doors
- Attic insulation depth
- Ventilation in bathrooms/kitchens
- Outdoor shading structures
Documenting these points lets you prioritize low-hanging fruit before you invest in larger systems.
2. Seal Gaps and Improve Insulation
Air leaks are the silent culprits behind higher indoor temps. I start with the most common culprits: windows, doors, and attic hatches.
- Window caulking: Use a silicone-based sealant rated for exterior use. Apply a thin bead along the perimeter, smooth with a wet finger, and let cure 24 hours.
- Door sweeps: Install a self-adhesive sweep on the bottom of exterior doors. It costs under $10 and blocks warm air from the porch.
- Attic insulation: Measure existing R-value with an infrared thermometer. If it reads less than R-38 (the recommended level for most climates), add blown-in cellulose. A rental blower kit costs about $80 for a day.
According to Angi’s 2025 State of Home Improvement report, homeowners who seal leaks see a 5-10 °F reduction in indoor temperature without altering HVAC settings (Angi). The upfront effort pays off quickly.
3. Add Shading Where It Counts
Sunlight is free, but heat isn’t. I start with the most exposed façade: the south-facing wall.
- Exterior awnings: A retractable fabric awning can shade a 10-ft window for $150-$250. Look for UV-treated material rated for at least 10 years.
- Vegetative shading: Plant fast-growing vines like Carolina Jessamine. Within two months, they provide 40-50% solar reduction.
- Window films: Apply a low-E reflective film. It cuts solar heat gain by up to 60% while preserving visible light (Wikipedia notes advances in high-definition video display tech, which similarly rely on reflective coatings).
These solutions are inexpensive, easy to install, and reversible - perfect for renters or those wary of permanent changes.
4. Upgrade Your Cooling Strategy
When my house still felt warm after sealing and shading, I evaluated cooling options. Below is a side-by-side comparison I used to pick the most cost-effective method.
| Method | Initial Cost | Energy Use (kWh/yr) | Best For |
|---|---|---|---|
| Window AC Unit | $250-$400 | 600-800 | Single rooms, renters |
| Portable Evaporative Cooler | $120-$250 | 200-350 | Dry climates, small spaces |
| Whole-House Ductless Mini-Split | $1,800-$3,200 | 900-1,200 | Whole-home comfort, long-term |
In my case, a single 12,000-BTU window unit covered the master bedroom, while a portable evaporative cooler kept the den comfortable. I avoided the $2,000+ mini-split expense because the combined approach gave a 30% energy savings compared to running the furnace fan alone.
5. Control Moisture to Prevent Summer Mold
High humidity invites mold, especially in basements and bathrooms. I tackled this with three simple steps:
- Dehumidifier placement: Position a 30-pint unit in the basement; it runs ~350 W and reduces humidity from 70% to 45%.
- Vent fan upgrade: Replace existing bathroom fans with models rated at 110 CFM or higher. The extra airflow removes steam before it condenses on walls.
- Moisture-resistant paint: Apply a mold-inhibiting primer on walls prone to dampness. It costs $30-$40 per gallon and adds a protective barrier.
These actions keep indoor air quality high and avoid costly remediation later. Angi warns that neglecting moisture control is one of the “home improvements you should not DIY” because improper ventilation can violate building codes (Angi).
6. Budget Breakdown and Cost-Saving Hacks
Below is a quick cost table based on my experience. Prices are national averages as of 2024.
| Item | Estimated Cost | Potential Savings (yr) |
|---|---|---|
| Window caulk & sealant | $15-$25 | $30-$50 |
| Door sweeps (2) | $20-$30 | $40-$70 |
| Blown-in insulation (50 ft³) | $120-$150 | $150-$250 |
| Awnings (2) | $300-$500 | $200-$400 |
| Window film | $70-$120 | $100-$180 |
| Dehumidifier (30-pint) | $180-$250 | $120-$200 |
The total investment stayed under $1,200, while projected yearly energy savings topped $800. That’s a solid ROI for a summer-only project.
7. Legal Pitfalls: Projects You Should Not DIY
Before you start, know which upgrades are off-limits without a licensed professional. AOL’s recent list flags six prohibited DIY projects, including electrical rewiring and structural alterations (AOL). Attempting those can lead to fines, failed inspections, and unsafe conditions.
For a summer upgrade, stick to the following safe zones:
- Caulking, sealing, and insulation
- Exterior shading devices that don’t affect load-bearing walls
- Portable cooling units
- Moisture-control accessories
If you need to modify HVAC ductwork or relocate plumbing, hire a certified contractor.
8. Pro Tip from My Workshop
When I installed the window film, I first taped a small “test strip” on the lower corner. This let me gauge adhesive residue and verify that the film didn’t bubble under sunlight. After a 24-hour cure, I proceeded to the full pane. The trick saved me a full-panel redo and kept the finish flawless.
FAQ
Q: Can I install an awning myself without a permit?
A: Most jurisdictions treat awnings as a non-structural accessory, so a permit isn’t required for standard sizes. However, if the awning attaches to a load-bearing wall or exceeds local height limits, you’ll need a building permit. Check your city’s zoning code before mounting.
Q: How often should I replace window film?
A: Quality low-E films last 8-10 years when applied correctly. Inspect for peeling or discoloration each summer; replace only if performance drops noticeably.
Q: Is a portable evaporative cooler effective in humid climates?
A: Evaporative coolers thrive where outdoor humidity is below 50%. In humid regions they add moisture instead of cooling, making a window AC or mini-split a better choice.
Q: What’s the safest way to add insulation to my attic?
A: Wear a respirator, gloves, and eye protection. Use a blower machine with a flexible hose to evenly distribute cellulose. Avoid over-filling; keep the insulation level within the recommended R-value for your climate.
Q: Are there any DIY projects that could void my home insurance?
A: Yes. DIY electrical rewiring, structural wall removal, and improper roof repairs are common triggers for insurance denial. Stick to cosmetic upgrades and always document your work with photos and receipts.
"Software advances have turned video games into high-definition experiences at high framerates, mirroring how modern home-improvement tools now deliver precision and efficiency for DIYers." - (Wikipedia)
By treating each summer-proof improvement as a series of bite-size projects, you stay within budget, avoid legal headaches, and keep your home comfortable all season long. The same way early video-game pioneers turned a simple display into a cultural phenomenon, you can turn a few modest upgrades into a cooler, drier, and more enjoyable living space.