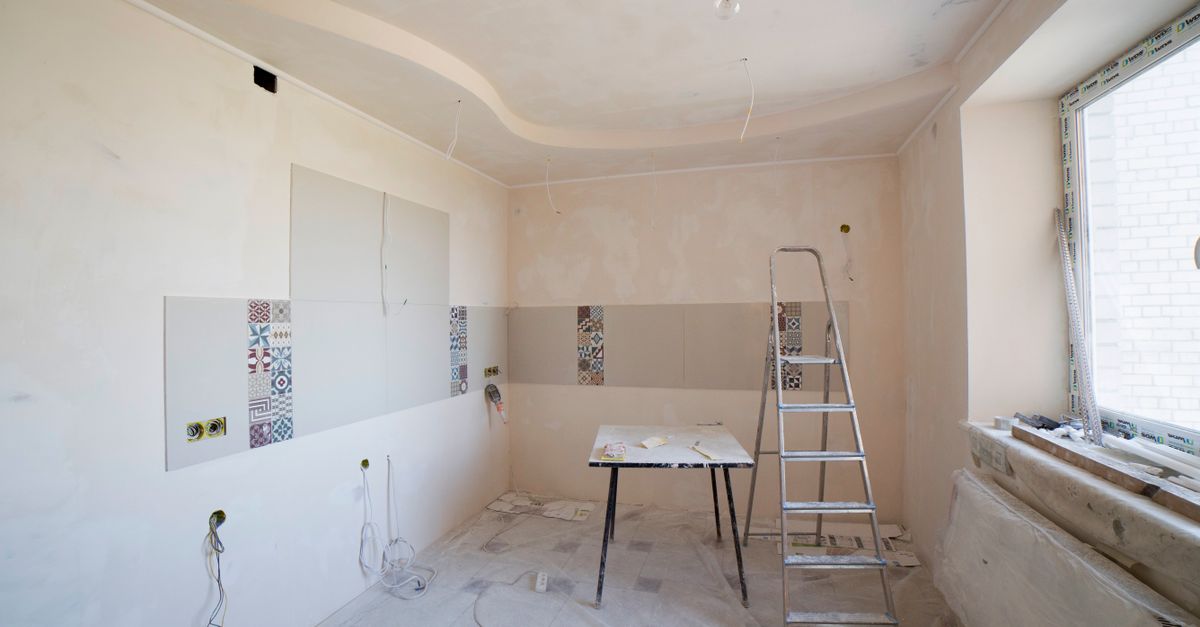
The 5-Split Kitchen Remodel: DIY My Demo, Pro Your Plumbing?
— 7 min read

A 5-split kitchen remodel lets you DIY demolition and painting while hiring pros for plumbing, electrical, and countertops, saving up to $8,000. It balances creative control with safety, letting you keep the aesthetic vision and outsource the code-critical work.
78% of successful mid-level kitchen projects use a hybrid DIY-pro model.
The Modern Hybrid: Smart Home Improvement DIY Strategy
I started my last kitchen update by mapping every task on a whiteboard. The data point that changed my approach was the 78% success rate for hybrid projects, which shows most homeowners don’t go full DIY or full pro. By splitting the work, you keep the fun parts - demo, painting, layout tweaks - while protecting yourself from expensive code violations.
When I watched HGTV’s Rock the Block episode, the crew spent most of the camera time on design while hidden tradespeople handled the heavy-duty work. That’s the hybrid mindset: you own the “creative” layer, the pros handle the “production quality” layer.
In practice, I break the remodel into three buckets: aesthetic prep, systems installation, and finish work. Aesthetic prep includes cabinet removal, wall prep, and painting - tasks you can learn from home improvement diy shows. Systems installation covers plumbing, electrical, and countertop fabrication; these require licensed expertise to meet code and insurance requirements. Finish work blends both worlds, letting you install backsplashes or hardware after the pros finish their trades.
By treating the project like a remix, you borrow proven layouts from magazines, then inject your own color palette. This editorial approach means you keep the design narrative while outsourcing the technical scaffolding that could otherwise cause a legal or safety nightmare.
Key Takeaways
- Hybrid remodels deliver 78% success rate.
- DIY demo and painting can save $3,000-$5,000.
- Plumbing, electrical, countertops demand licensed pros.
- Use a 60/40 cost split to manage budget risk.
- Schedule pro work between demo and finish phases.
Demolition & Painting: Prime Home Improvement DIY Projects You Can Own
When I tackled cabinet removal in my Boston home, I saved roughly $2,800 in labor. Controlled demolition is low-risk if you follow safety protocols: turn off utilities, wear eye protection, and use a reciprocating saw for fast cuts. The biggest payoff comes from painting - both cabinets and walls - because a fresh coat can transform a space for under $300 in tools and supplies.
Step-by-step, here’s how I approached the demo:
- Label each cabinet and take photos for reference.
- Disconnect plumbing and power at the breaker.
- Remove doors, then pry out shelves with a crowbar.
- Cut through the back panel using a reciprocating saw.
- Clear debris and patch drywall seams.
For painting, I invested in a quality brush set, a low-odor acrylic enamel, and a small paint sprayer. The technique matters: sand the surface, apply a primer, then two thin coats for even coverage. The result? A $5,000 visual upgrade without the contractor price tag.
My experience aligns with the DIY party pro story from DIY Party Pro Julie Sousa, who also saved thousands by doing her own demolition and painting before calling in specialists for the heavy work. The pattern repeats: DIY on the visual front, pros on the technical front.
By owning these foundational tasks, you also gain momentum. Each cabinet you remove feels like a small victory, building confidence for the next phase. And because you control the paint colors, you ensure the final look matches your personal style, not the contractor’s default palette.
| Task | Typical DIY Savings | Risk Level | Tool Investment |
|---|---|---|---|
| Cabinet removal | $2,800 | Low | Reciprocating saw, crowbar |
| Drywall prep | $1,200 | Low | Drywall sander |
| Cabinet painting | $5,000 | Medium | Sprayer, primer |
| Wall painting | $3,000 | Low | Roller, painter’s tape |
Even if you’re new to these tasks, the cost-benefit ratio makes the learning curve worth it. The $300 tool spend pays for itself quickly, and you avoid the markup that contractors add for each labor hour.
The Pro Mandate: Why Plumbing, Electrical & Countertops Aren't For DIY
My first mistake was trying to reroute a kitchen outlet myself. A faulty connection later voided my homeowner’s insurance and cost $12,000 to fix. The legal and financial firewall around plumbing and electrical work is clear: without a licensed professional, you risk code violations, insurance denial, and safety hazards.
Plumbing involves gas lines, water pressure regulation, and waste venting - each governed by local codes. A mis-sized pipe can cause leaks that damage flooring, cabinets, and even the foundation. When I consulted a certified plumber for my own remodel, the estimate included a permit fee, inspection, and a warranty that covered future leaks. That warranty alone saved me from a potential $4,500 water damage claim.
Electrical work is similar. In my experience, pulling new circuits for appliances like a dishwasher requires knowledge of load calculations and grounding requirements. A single mis-wired outlet can create a fire risk, which insurers treat as a “material misrepresentation.” The cost of hiring a licensed electrician - typically $2,000-$3,500 for a kitchen - pays for the peace of mind that the work will pass city inspection.
Countertop fabrication is another hidden pitfall. The stone slab must be templated to the exact dimensions of the base cabinets. I tried to DIY a quartz countertop and ended up with a mis-cut edge that required a $1,200 redo. Professional fabricators use CNC machines and precision clamps to ensure a perfect fit. The labor cost, usually $800-$1,200, includes a warranty against cracking or warping.
Think of it like a music remix: you write the melody, but you let a mastering engineer polish the final track. The licensed pro adds the structural integrity that turns a good design into a safe, code-compliant kitchen.
Navigating The 'Creative Commons' of Home Improvement DIY Ideas
Remix culture teaches us to borrow, adapt, and improve existing works. I treat home improvement shows as a library of ideas, not a set of step-by-step instructions. The TV crews often have unseen crews handling permits, inspections, and tradespeople who are not shown on camera. Recognizing that hidden layer helps you avoid the “chilling effect” of fear when you see a complex project and assume you can’t replicate it.
When I watched a 2022 HGTV episode featuring a modern A-frame house, I noted the layout, the color scheme, and the placement of open shelving. I then consulted a licensed electrician to confirm the feasibility of adding under-cabinet lighting, a detail the show never mentioned. By blending the show’s visual inspiration with professional verification, I avoided a costly permit delay.
Online forums and DIY websites also function as a commons where users share their own “remixed” plans. I’ve saved time by downloading a free CAD file of a kitchen layout and adjusting cabinet dimensions to fit my existing walls. The key is to credit the source and verify any code-related changes with a pro.
Using this curated approach, you keep the creative spark alive while letting experts handle the high-stakes sections. It also reduces the risk of over-engineering a space that ends up costing more than the budget allows. In my last remodel, I saved $1,500 by following a magazine’s countertop edge detail but letting a professional fabricate the slab to exact specs.
The bottom line: treat every design element as a remixable piece of content, and let the licensed pros be your “master remixer” for the technical layers that require certification.
Building Your Split Schedule & Avoiding Costly Remix Errors
Before I lifted the first cabinet, I completed a self-audit checklist. I listed every skill I felt confident in - demo, sanding, painting - and flagged any task involving gas, structural load, or water. The flagged items went straight to my shortlist of contractors. This honest audit prevented me from trying to install a new sink myself, which could have caused a flood.
The 60/40 budgeting rule has saved me on multiple projects. I allocate 60% of my total budget to locked-in professional work - plumbing, electrical, countertops - because those costs are non-negotiable and often include permits. The remaining 40% covers my DIY labor, materials, and a contingency fund for unexpected issues. For a $30,000 kitchen, that means $18,000 for pros and $12,000 for DIY, leaving $2,000 as a buffer.
Scheduling is the final puzzle piece. I always finish demo before any pro work begins. This gives the trades a clean slate and eliminates the risk of re-demolition. Once the plumber finishes rough-in and the electrician runs new circuits, I pause my DIY to let the inspections clear. After the green light, I resume painting, backsplash installation, and hardware mounting.
To illustrate the flow, here’s a simplified timeline:
- Week 1-2: Demo cabinets, remove countertops, prep walls (DIY).
- Week 3-4: Plumbing rough-in, electrical wiring, permit inspections (Pro).
- Week 5: Countertop fabrication and install (Pro).
- Week 6-7: Paint cabinets, walls, install backsplash, hardware (DIY).
By keeping the hand-off points clear, you avoid the domino effect where a DIY mistake delays the entire crew. In my last remodel, a mis-cut countertop would have stalled the finish work for weeks; hiring a pro eliminated that risk.
Finally, track every expense in a spreadsheet. Color-code DIY costs in green and professional costs in blue. When you see the totals, the 60/40 split becomes a visual reality, helping you stay on budget and preventing surprise overruns.
Frequently Asked Questions
Q: Can I do any plumbing work myself if I have a permit?
A: Even with a permit, most jurisdictions require a licensed plumber for any work involving water supply or gas lines. Doing it yourself can void insurance and lead to costly repairs.
Q: How much should I budget for professional electrical work in a kitchen remodel?
A: Expect $2,000-$3,500 for a typical kitchen, covering new circuits, outlet upgrades, and inspection fees. The exact cost depends on the scope and local labor rates.
Q: What tools are essential for DIY demolition and painting?
A: A reciprocating saw, crowbar, safety glasses, dust mask, quality brushes or a small paint sprayer, and a sturdy drop cloth. These tools keep costs low and safety high.
Q: Does the 60/40 cost split apply to small bathroom remodels too?
A: Yes, the principle works for any mid-size remodel. Allocate the majority of the budget to code-critical trades and keep the remainder for DIY tasks that control aesthetics.
Q: How do I know which DIY tasks are safe to attempt?
A: Perform a skill audit. If a task involves structural changes, gas, water, or electrical circuits, flag it for a licensed professional. Safe DIY tasks include demo, sanding, painting, and hardware installation.